Day 14, 30×30 direct watercolor challenge: hydrangeas

I started with the leaves first… I’m not sure why…

IMG_1498

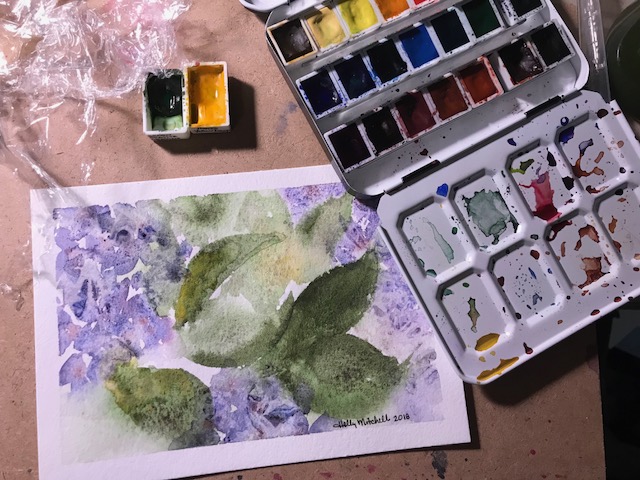
and added the blossoms afterwards, but wasn’t thrilled with the results. (I even lightened the leaves some and added a bit of texture, after these photos were taken. Which helped a bit but didn’t solve the problem.)

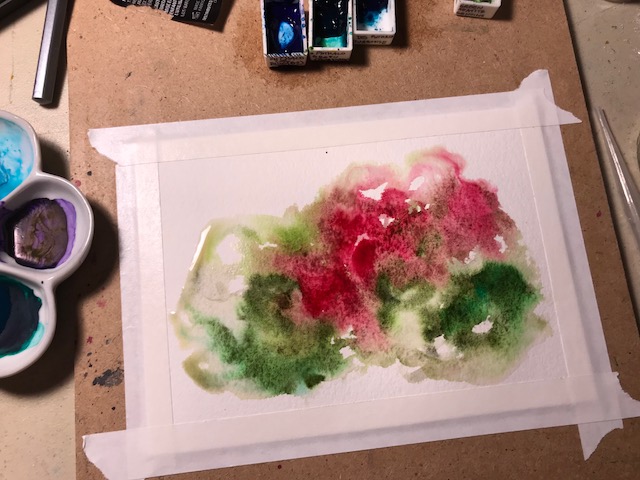
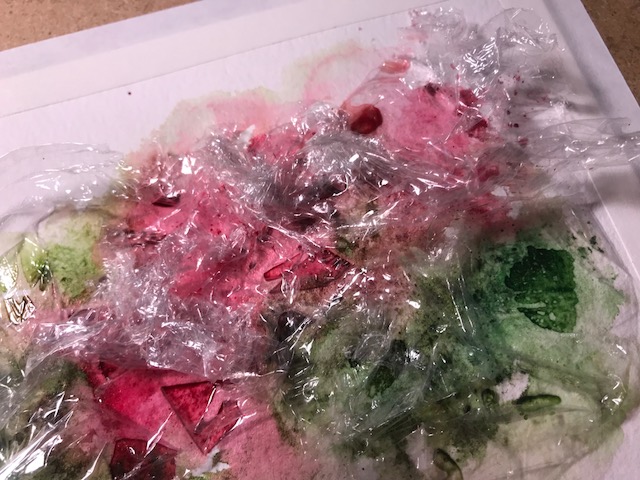
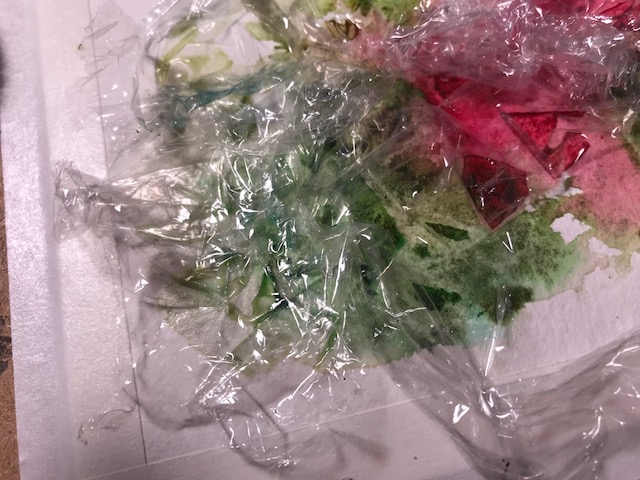
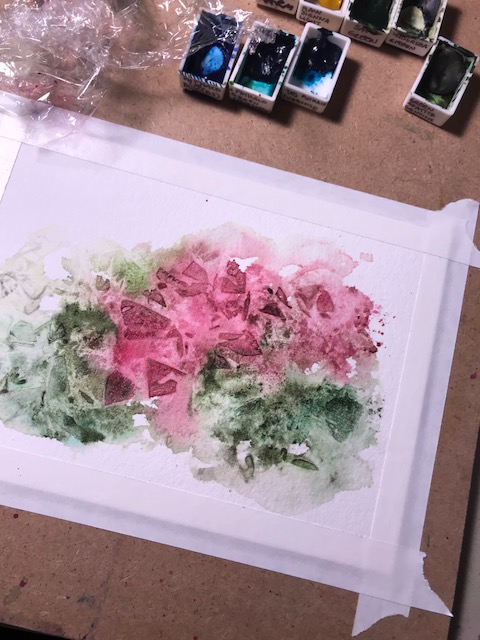
So I tried the blossoms first, then the leaves, and did several layers. And added texture to both leaves and blossoms this time.

IMG_1504

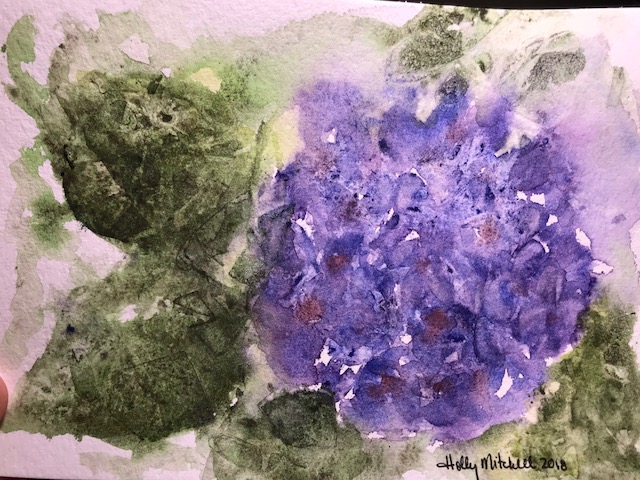
Better, anyway. But lifeless. I’ll keep practicing 🙂 I can see where more varied colors would help, and leaving more white.

Day 12, 30×30 direct watercolor painting challenge: hydrangeas-using plastic wrap for texture

For this technique, you want your paper pretty wet.

IMG_1483.jpg

I dab in the color where I want it, then crumple the plastic wrap and lay it on top of the wet area, and push it down… you can slide it around a bit to adjust the texture… don’t smear it all around, but you can move it or reposition it. Press down a bit and leave it to dry.

IMG_1485.jpg

IMG_1484.jpg


This time I used mostly Daniel Smith Green Apatite Genuine (amazing granulation), Undersea Green, Quinacridone Rose, and Schmincke Potter’s Pink. I wish I had used something deeper than the Rose. I have some Schmincke colors I think I would have liked better.

After it has dried (I left this about an hour) remove the plastic.

IMG_1487.jpg

Add more layers if you want to… Here I tried to add a bit more definition to the pink flowers without adding much actual detail. I like the pink and green blossoms, but I will try a larger paper next time, so I can add some of the large leaves, too.

IMG_1494