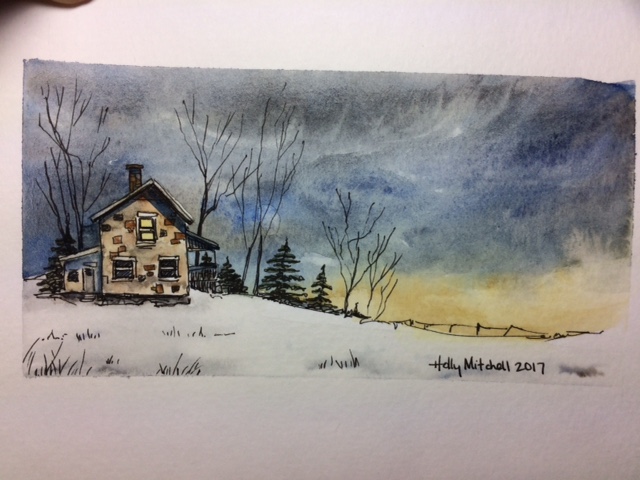
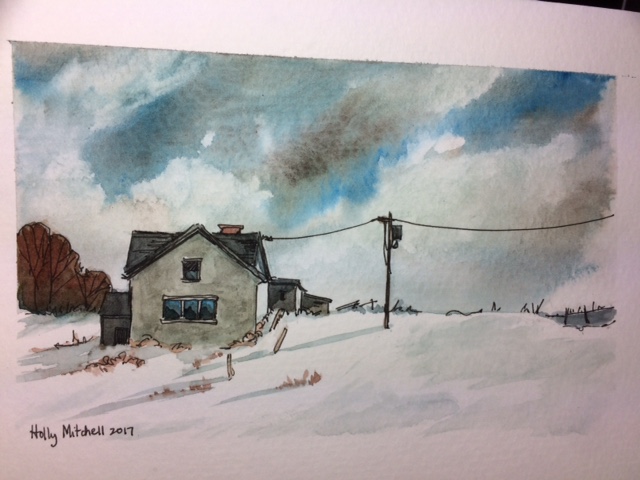
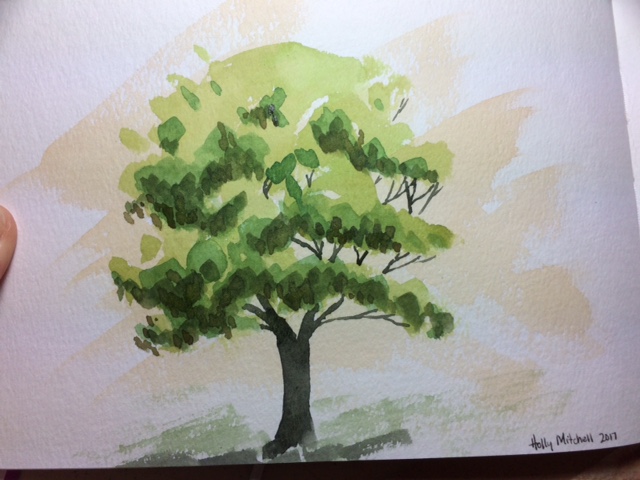
Oh my goodness. Sooooo cute. I love Iraville’s tutorials as much as Peter Sheeler. Still using my strathmore 400 5×8 watercolor journal, still using my m graham watercolors, although here I used a Prima indigo from my travel palette as well. Still using the craftamo brushes.
In fact, I promised I’d review the Craftamo brushes, and now is the time. I have two different sets. The first is a set of small round brushes. I purchased them on Amazon, but at a discount. The set includes various sizes of small detail brushes for $15.95. (000,0,1,2,3,4,5,6,8,19,12) They are all between 6 and 9 inches long, with pretty blue handles. When I opened them, one or two had a couple of bent hairs, not good! But they came in a sturdy attractive box, and had protective covers on each, and in the end have been very enjoyable to use. I like the weight and feel of them. (I don’t love the 000 or the 0, but I do use them. I can’t compare those to a professional brush that size as I’ve never had any brushes this small before. I may just be hard on teensy brushes, in fact I imagine I am)
If you are thinking about learning watercolor or acrylic, these may be a good option for starting out. If you don’t want to invest much in brushes in the beginning, but want a variety of sizes, or if you need detail craft brushes, these are a good purchase for under $16. If someone gave me this as a gift, I’d guess they cost more than that. I know what you are thinking, you get what you pay for. And frankly, a bad brush is WORTHLESS. As far as supplies go, I’m learning that I need as high a quality paper and paint as I can get. And I suggest to someone just starting out, use what you have, but once you know you want to continue, consider it an investment to get higher quality things. It will be so much easier to get the results you are hoping for. And with brushes you do get what you pay for, but these haven’t shed hairs or split while painting, and I’m happy with my results. They don’t hold as much water as a sable brush would but are SOOOO much less expensive. They will work for me until I decide to invest in two or three really quality brushes. (which I WILL do) And I’ll know really what sizes I prefer, which right now I’m not certain. A brush could cost a few cents or hundreds of dollars or anywhere in between, and when I purchase a few expensive expensive brushes I want to be certain I’m getting sizes I will use most frequently, so this is a great opportunity for me.
I also purchased this set of brushes at a discount from someone on Amazon:
This set is $26.95 for 15 long handled brushes ( they are 12 inches long, I’ve included my cute little 6″ ruler from London in one of the photos for reference. The long handles make them nice for painting at an easel, where shorter brushes are generally more convenient for table work, I think.) The case itself is a great value. It is sturdy, zips shut, has a handle for carrying, AND the brush holder part pops up and velcroes into position to be a brush stand. Handy! The brushes are a really nice selection of different types and sizes. I’m quite happy to have these, and some are types I’ve seen used in tutorials and I didn’t have them myself. Now I do! Lots of pros to this set. Plus they are affordable.
The cons? Initially one of the brushes lost a hair with its first use. I was really worried about them because of this but so far (fingers crossed) they are holding up really well. (In my opinion the WORST thing a brush can do is shed a hair on your project! It’s crazy hard to get it off without leaving a mark of some kind.) Another negative is that they don’t hold as much water as I’d like. But really for $27, I don’t expect them to. ($27 for ONE, I’d expect more, $27 for 15 I’ll give a little grace in this department!!) Also the flat brush that I use so often, (the number 6) has a wiggly ferrule (the metal bit attaching the bristles to the handle. I tightened it up, and am not having any more trouble with it, but expect some inconveniences like that with these less expensive sets.
I’ll update this review if I decide they really aren’t worth the money, but for now these are the brushes I’m using, for the most part. Even if they don’t last long I feel like I’ve gotten my money’s worth just learning which sizes I need. If you are looking for a nice variety set of brushes, with flats, rounds, angles brushes, some fun specialty brushes like a fan and a cats tongue (I don’t know if it’s always called that, but I’ve heard it called that before) with a holder, this might be worth a look. I’m really happy to have these. I WILL invest in more professional quality brushes at some point, but for now am quite content with this set. I don’t know if a professional artist would be happy with these, (although ONE lady I follow uses inexpensive brushes only), but a crafter or student may enjoy them, and the case is really handy.
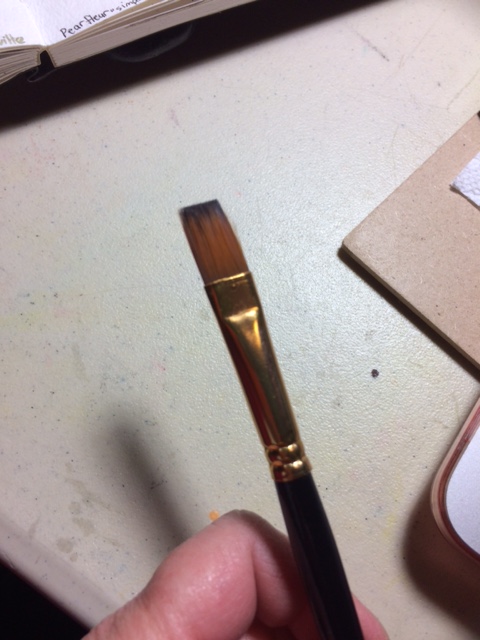
Here’s the brush I really NEEDED. (I’ve used it often, too, in the Sheeler tutorials, with no problems AFTER that initial loose hair, and the tightened ferrule.):
 I’m pretty hard on my brushes and still learning about how to take care of them, so these less expensive sets have been a blessing for me so far. Thank you, Craftamo!