Thirty Days of Everyday Life: Day 6 (watercolor practice)

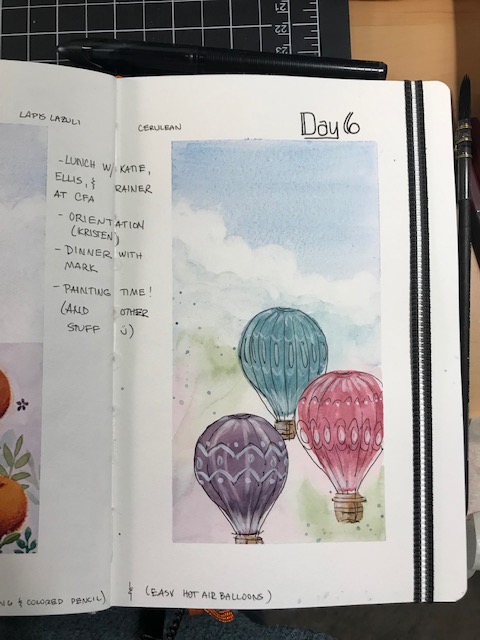
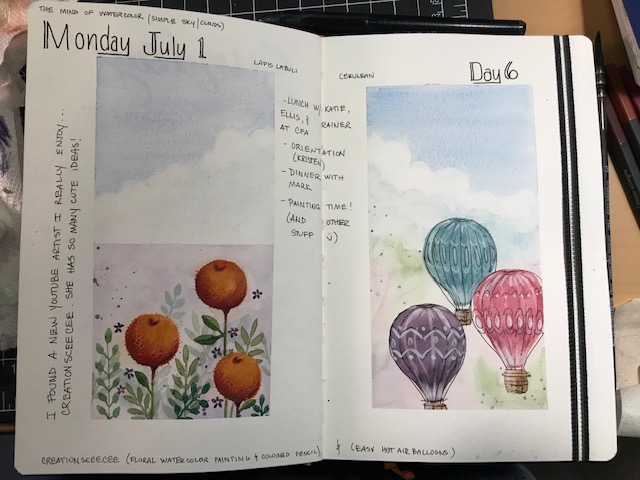
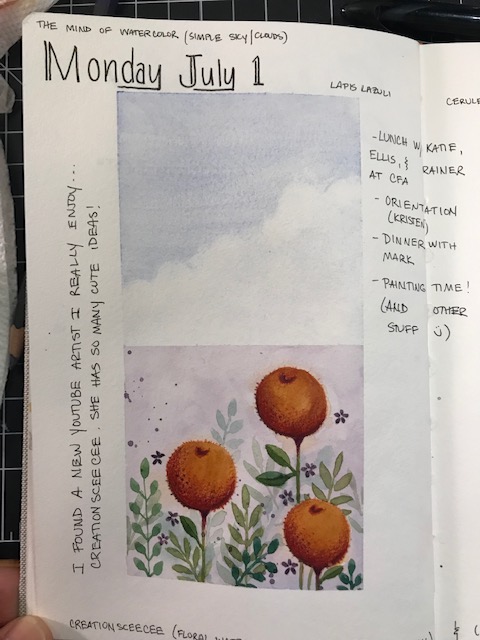
No, I did not go up in three beautiful hot air balloons. Not in my REAL life, anyway. I watched several youtube videos. The Mind of Watercolor  explained how to create simple clouds, just painting a wet wash and lifting with a crumpled paper towel, smoothing a bit with a clean wet round brush:

IMG_0825

I am already comfortable with this technique, but to be honest am still learning which pigments stain and which lift (lifting being crucial to the success of this technique) so tried it with both A. Gallo’s Lapis Lazuli and Daniel Smith’s Cerulean. (both non staining, very liftable) The Lapis Lazuli is basically ultramarine, but a very light, fragile color. Cerulean is also light, although can be laid down a little heavier than the Lapis. They both worked fine, just slightly different colors. Then I watched several videos by CreationsCeecee  … Her art is fun and her videos inspire me to play.

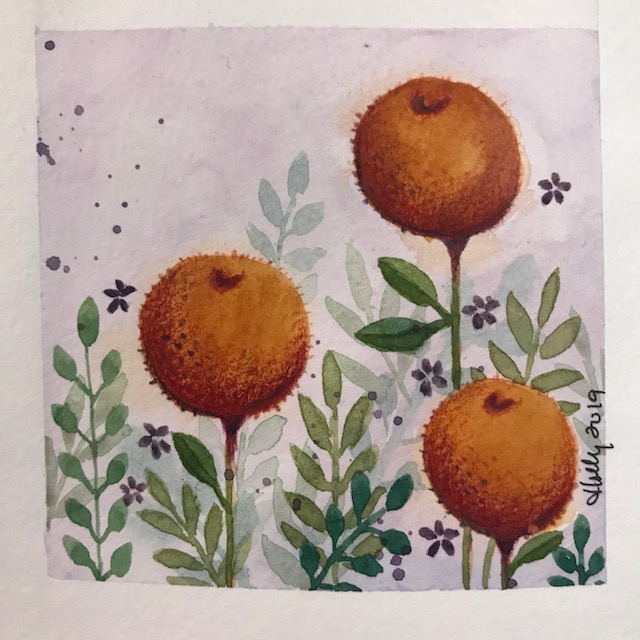
I tried a fun prickly flower, on the left, using colored pencil and watercolor. Colored pencils can provide a very nice accent:

IMG_0826

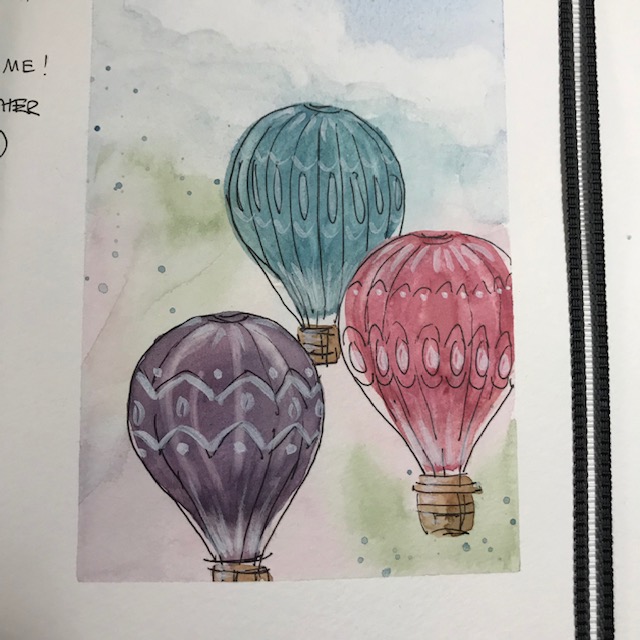
and balloons on the right, with watercolor and ink:

IMG_0827

I love artists showing me HOW to do what they do, and not minding if I copy to learn. Go try some!

IMG_0823

I wasn’t trying to make the full page a picture, but was working in 4 quadrants. However, the right side kinda turned into one cohesive sketch, so I should have done that on the left as well!

IMG_0824

A tiny acrylic landscape FOR BEGINNERS 7/2/19

I followed Ray Grimes’ Youtube tutorial for this one, “Simple Landscape from a dot”… and yep, you basically start with a dot. (See video here) Here it is as simply as I can explain it.

First: cover the canvas in white.

Then: add a tiny dot of color (he used purple, I used burnt sienna, because I don’t have a pretty purple) Use a stiff brush (apparently any, because I didn’t have any of the tools he used) to tap the dot in and around (see my land on the left side.)  Add a tiny (sienna) dot on the right, tap it around.

Use a dry flat brush to drag down through the bottom of the color, then a swipe horizontally (for the reflection for both pieces of land).

Add a third (sienna) dot at the bottom right, tap tap tap with the brush, repeat the dry flat brush draggy thing a bit. Don’t overwork it.

Apply a thin line of white to the flat edge of a palette knife, drag it beneath where the “land” should be, and maybe a stripe or two in the “water” (see my image) Sign your name… you are done!!! A 5 inch, 5 minute masterpiece. Incredible.

I REALLY love the sienna color. I will try more single color paintings, I think!

IMG_0841

The supplies I used. (That long brush is actually a stiff flat brush, it just rolled itself sideways)

IMG_0829

I’d love to know if you try this!!