My house, this time.
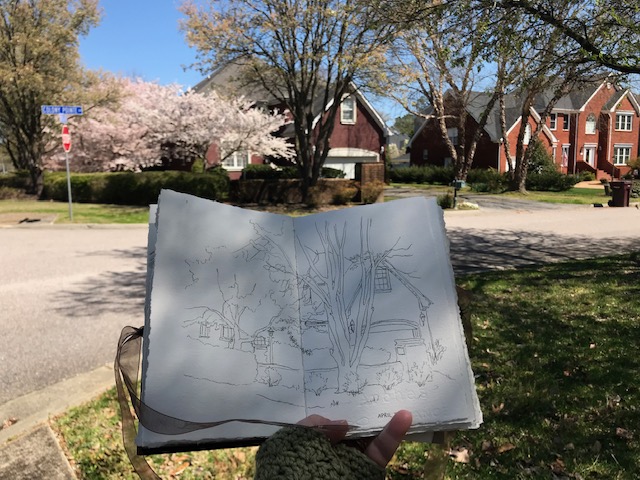
I’m really proud of myself for not using a pencil at all on these!
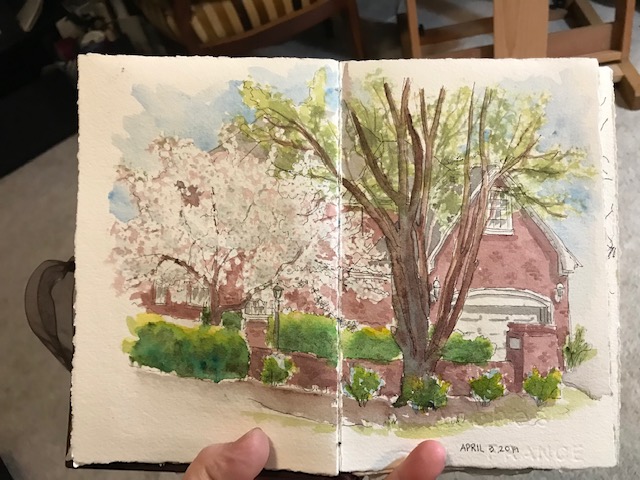
(The brick wall curves around.)
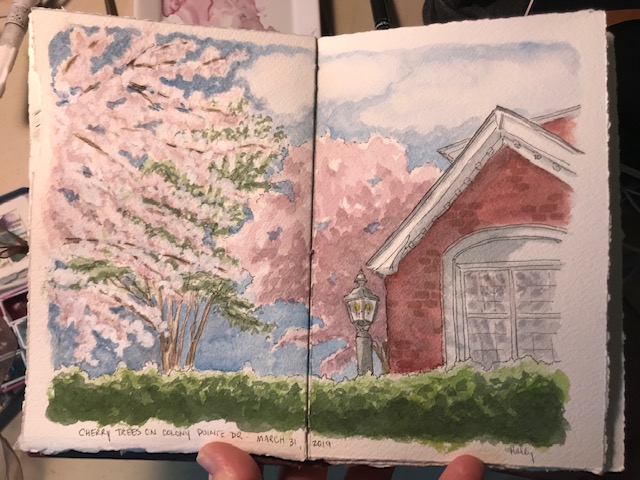
A closer view, from March 31st.
A 365 day art project… one drawing a day

My house, this time.
I’m really proud of myself for not using a pencil at all on these!
(The brick wall curves around.)
A closer view, from March 31st.

(this post includes Amazon affiliate links where applicable)
I watched some youtube videos by Nik the Booksmith (here is a link) about making handmade journals. (I had also watched one by Following the White Rabbit, (link to watercolor journal tutorial here) which is what actually inspired me to think about it!) Between the two artists, I started to think, Hey, maybe I can do this, too! I will readily admit, I sometimes rush, or cut corners, so have been hesitant to try what seems like a tedious and precise job.
My final result is gorgeous!! It isn’t quite RIGHT… but I love it. And maybe that’s what counts, right? Plus, as I make more, I’ll learn how to make them more “right”. 🙂
So, I’ll try to explain what I did. However… watching the two videos I’ve linked (and Nik the Booksmith’s is actually a five part series) will definitely make it clear to you. (Plus… well, mine isn’t quite RIGHT, so going to the original sources may make yours RIGHTER.)
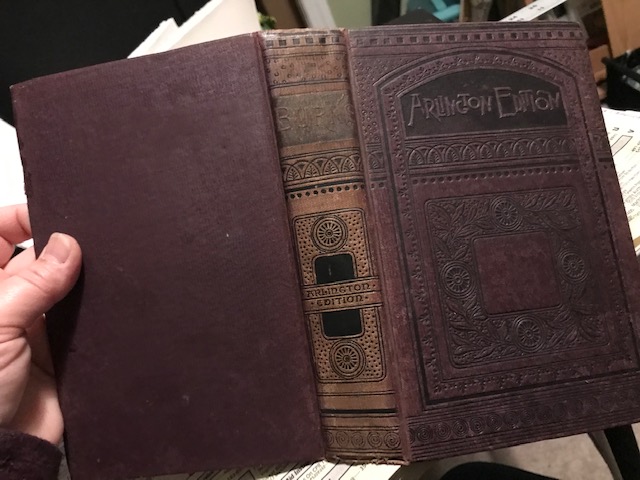
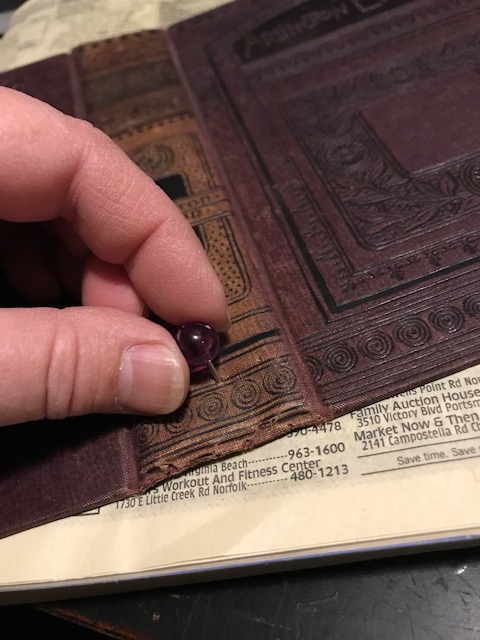
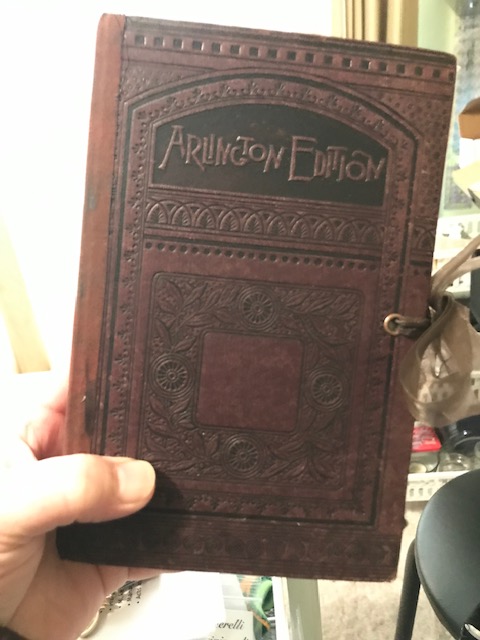
Step one: I had a very old, but damaged, copy of Robert Burns poetry. VERY old. Beautiful. BUT DAMAGED. Please remember that. (I know some of you don’t like people tearing up books for art, which I frequently do.) So, following “Nik”‘s directions, using an exact knife, I removed the pages from the book, being careful to keep the cover completely intact. (You don’t have to use a book cover. You can use heavyweight paper, cardstock, and Following the White Rabbit shows how to make it without a cover at all!)
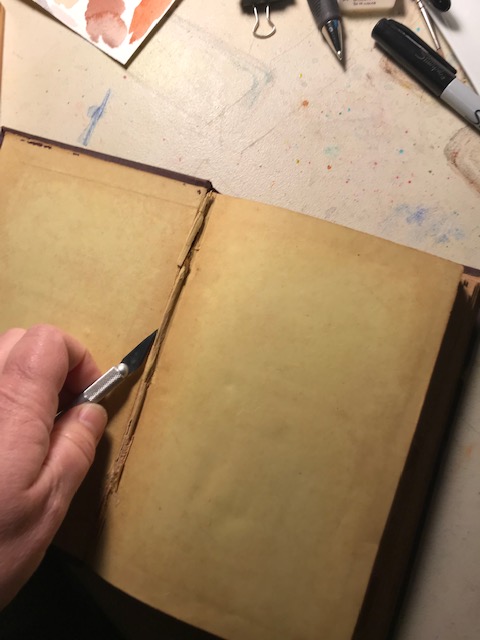
I’m not left handed. But, my right hand was holding the camera. I need a camera stand. 🙂
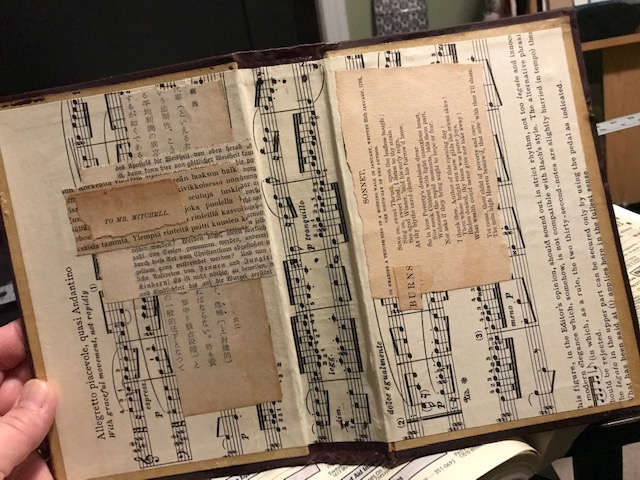
Next, I took an old, yellowed piece of sheet music I had, and cut it to fit as a lining, being sure it would be able to go down inside the spine as well. This will offer a bit of strength to the aged spine. I think, looking back, I could have used two layers for this, or maybe even fabric, for extra security. I covered the inside of the book covers and spine in tacky glue, and began in the center, covering the spine first, and using my finger and my bone folder to make sure the paper touched every bend of the cover. It needs to be very close fitting to allow freedom of movement without damage. Then pressing the paper down right to each edge (I also used a clean, flat paint brayer to help me smooth it out)
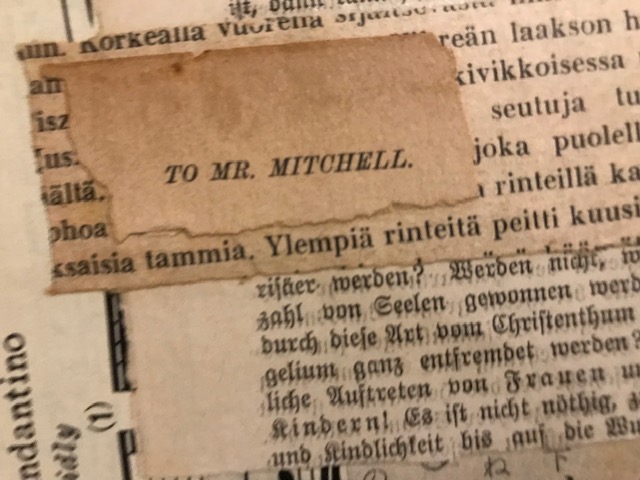
I also added a few interesting bits of vintage foreign pages I had, and one of Burns’ poems. AND a little title reading To Mr Mitchell. Sort of dedicating the book to my husband. 🙂
As it dried, I measured a large piece (22’x30″) of 140 lb Arches watercolor paper, (five sheet set found here on Amazon), and tore it the sizes I thought I’d need (watch Following the White Rabbit for this part) I couldn’t remember how many pages she said to use in each signature. I thought she had said 4, I used 3. Two would have been better. Try two. I scored and folded each, using a scoring tool I have for card making. I’m linking the tool on Amazon here. They have cheaper brands, this just happens to be the one I have, and I love it. The others may be just as nice. I tried to score the pages in such a way that I’d have front sides and back sides together, so the open book would have the same surface, left and right sides. I’m not sure I was entirely successful? I recommend you lightly mark the front of EACH piece you cut or tear BEFORE you cut or tear it, to avoid the confusion I suffered. I regretted not doing that.
You don’t have to use watercolor paper. You can use any paper you have! I specifically want a watercolor journal.
(I ended up using a sheet and a half for this book. You can definitely make a book using only one sheet. At less than $10 a sheet, that’s a decent deal. Looking around, you may find better prices on large watercolor sheets. If you want to shop around, try Cheap Joes, Jerry’s Artarama, Wet Paint Art… you could also use sheets you already have there in a pad, just remember it will be folded, so half the size in one direction.)
Once the book cover was dry, I arranged my signatures (the groups of pages which would be together.) I started with three signatures, each having 3 sheets (folded. So six pages) I later added two more signatures of two pages each between them, because I had left too much empty space between them. I made a paper template so I’d make holes in the same places on both pages and cover,
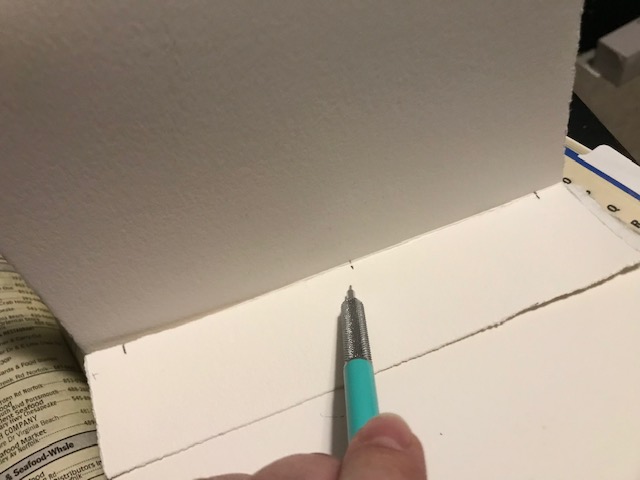
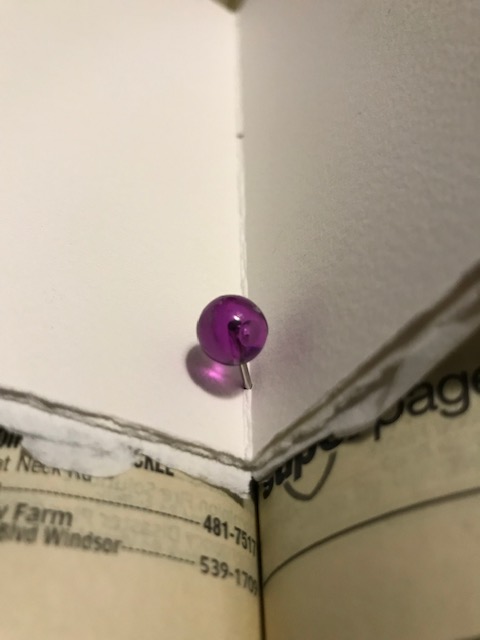
and I used an old phone book beneath my cover to poke holes. No awl in sight, so I used a push pin. Worked fine!


I started making my marks inside, but then realized it was so busy inside I couldn’t really see if I was lining things up straight, so I switched to making marks outside. I totally followed Nik the Booksmith for this part, and the rest, although I plan to use Following the White Rabbit’s process another time. Both were so easy to understand.
I made the marks in my first signature, then slid it down into the crack between the pages of the phone book to make the hole:
I used bakers twine to sew, and a needle. I started with a smaller-impossible-to-thread version for the first set, and ended up with a darning needle eventually.
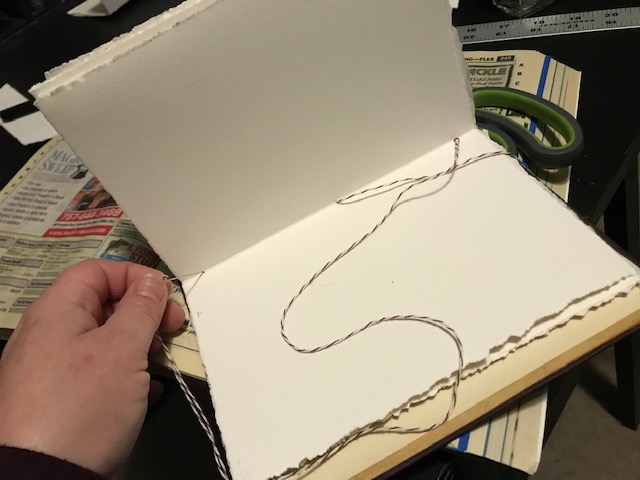
To sew a signature in, I had made three holes in each signature, and corresponding holes in the book spine. I started in the center hole, and went down through the spine, leaving a nice long tail (several inches). Then brought it up through the bottom hole of the spine, into the bottom hole on the signature. Still leaving that long tail inside! I then went up to the top hole, down through it and through the top hole of the spine. Then BACK in through the center hole of the spine and center hole of the signature. I tightened everything, being careful not to pull too tight and break my string. (This is a lie. I did break my string. It only happened once, though, and I fixed it. Don’t pull it too tight) Once it felt nice and taught, the long string going up the center of the signature should feel almost like a guitar string, I tied the two ends. I cut the string but left both ends hanging. She suggests in the video gluing some little paper punches or something to the strings, and I may do that, or may shorten them later.
Now I repeated for all the signatures, exactly the same way.

This went much more quickly than I had anticipated. The whole book was made in a day.
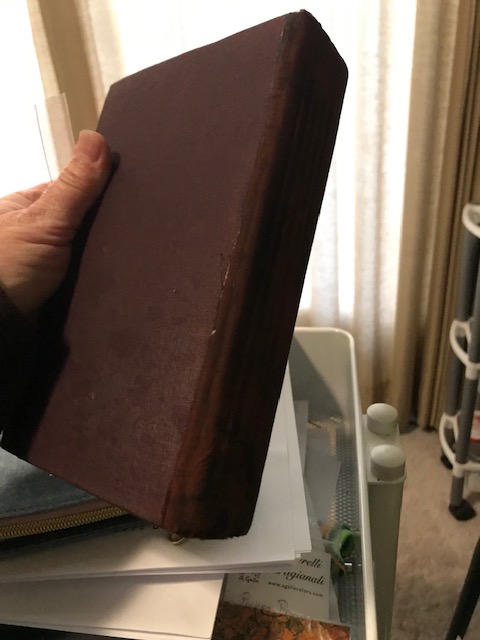
Now I took a piece of fabric, cut it to fit the outside spine of the book, and glued it on. Too be honest, I almost left it. It was a pretty spine, and I didn’t mind the strings much. If I had used dark thread that matched the cover I really wouldn’t have minded. But I decided the fabric might offer strength and protection. The color fabric I had (I didn’t purchase ANYTHING for this project, I used supplies I had on hand) nearly coordinated with the book, but was a little bright. I inked it up with Ranger black Distress Ink, and couldn’t believe how well it now matched! I glued it on with Tacky Glue.

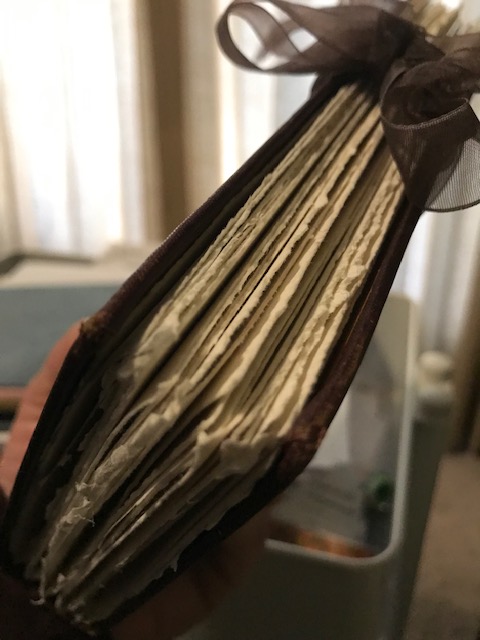
Now my only problem… kind of a funny one. My book didn’t have too many pages, but my signatures did! So… it wouldn’t stay closed!!
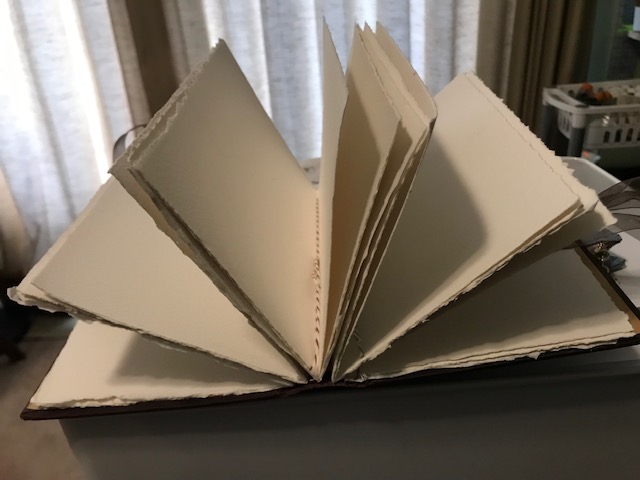
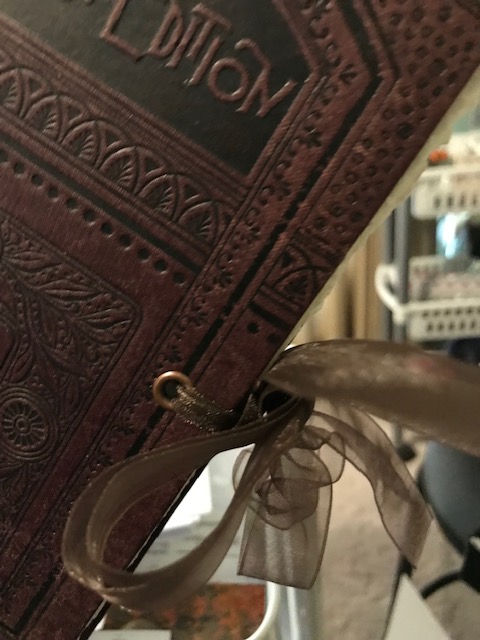
I watched another of Nik’s ideas where she use her Cop-a-dile to attach grommets… I realized I have that same tool!!! So… I attached grommets and tied ribbon on, tied the book shut, and voila!! Oh! It’s gorgeous. I love that the torn edges aren’t even. This would have looked awful if I had cut them straight, but knowing I would have accuracy issues, I tore.

Soon I’ll show you the title page I’m working on!! I haven’t decided if this is a themed book, or if I just add anything I feel like at the time, or if it is my next daily journal.
I’m so glad I tried, even though it is imperfect, and obviously a first attempt. Give it a shot!! Link a photo if you can. I’d love to see!!
