Newfies and cherry blossom days

Emmett (white chest, cherry blossoms sticking to his drool) and Clara, our newfies, under our beautiful cherry trees. She looks smaller here but isn’t really, not much. I love the cherry-blossom-snow-days best of all days in our yard, I think. And they are so few!

IMG_7944

Emmett in back, Clara up front, playing in the cherry blossoms. I know this isn’t art related. I do plan to sketch some blossoms, though! IMG_7939

A lot of sloober, yes, but how can anyone resist those faces? (Okay, anyone without a newfie may not appreciate them. They are a mess here)

Urban sketching in my neighborhood- part 1- 4/4/19

IMG_7957

It’s funny how perspective is seen in a photo vs in person. I never would have realized how different it is if I weren’t doing this urban sketching so often lately. I will finish drawing the scene, take a photo, look at it, and think “Huh. That isn’t what I saw!”

Anyway, here’s a little piece of my neighbor’s house. There’s a brick wall on one side of it, and the brick pillar is part of the wall in front of the house. This particular house is very long, the two car garage you can see in the photo behind the tree, then there’s a little breezeway type room, then the full house with another two car garage.

I guess it’s really a sketch of a pillar and a tree, with some house in the background, since I didn’t didn’t draw much of the house!

Resized_20190404_212706_4277


Ostrich Mail Art on Swap-bot, April 2, 2019

Swap-bot.com is a site I’ve been active on for years and years… I swap art and handmade items (and other random fun packages) with people around the world. This is a swap for random ostrich mail art, basically anything we feel like making. I purchased an ostrich sticker and tucked it inside the envelope I painted (the paper was too thin for painting, but I did it anyway), then decided it wasn’t enough and painted a strathmore watercolor card (yeah… if I’d realized I was going to do that I could have used the envelope that went with the card, which would have actually handled the watercolor a little better! This is my level of organization and planning…) Then I enclosed the whole thing in a vellum envelope, so everything can be seen through its sheer sides, and my partner can re-use the ostrich envelope herself… and finally I added two artsy bird themed postcard stamps. I didn’t get a photo of the completed project because I had already added the addressed, which is too bad, because the whole thing looked great! It looked much better in the very slightly hazy envelope than out of it. I hope my partner enjoys it. I certainly enjoyed making it.

One of the things I’ve enjoyed about Swap-bot over the years is the challenge. Without swap-bot I don’t think I’d be doing art now. I wasn’t really doing anything when I started, and didn’t know what I COULD do, or what it would mean to me, although I enjoyed drawing and crafting. I often joined swaps that were outside my comfort zone, trying artistic creative things I’d never tried before, some that I’d never even heard of, and wouldn’t have  dared to try on my own. It’s also been a great place for a little inspiration if I get stuck, because I can find a swap with a theme (paint a cat on a postcard… create a zentangled page of animals… collage a journal page with a bird theme… sew (yes sew!!) a bottle cap pincushion… write a poem about the leaves…send a package based of only pink items… and on and on) The swaps don’t have to be at all artsy or creative, but those are generally the ones I prefer.

If you enjoy creating, and mailing things out, you might enjoy swap-bot. It takes a lot of time, and planning (regardless of how poorly I planned my card and envelope combo this time), but I’ve met some really lovely people throughout the years. It is a free site, but you really have to be someone who is happy spending a lot of time on details, and also not irritated if you send something nice out but get nothing back yourself (or get something someone put no effort into). I almost NEVER get “flaked” on, but I swap pretty exclusively with people I’m familiar with now, who have developed great reputations on the site. It takes a while to make those connections.

IMG_7846

IMG_7847

By the way, an ostrich isn’t as simple as you’d think!!

Not-Technically-Urban-Sketching 3/31/2019

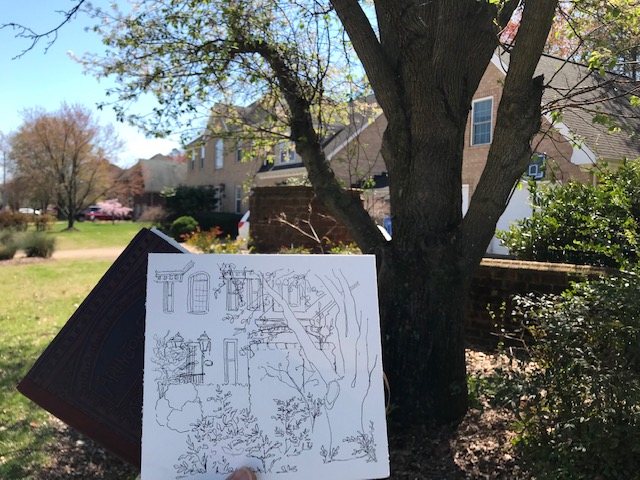
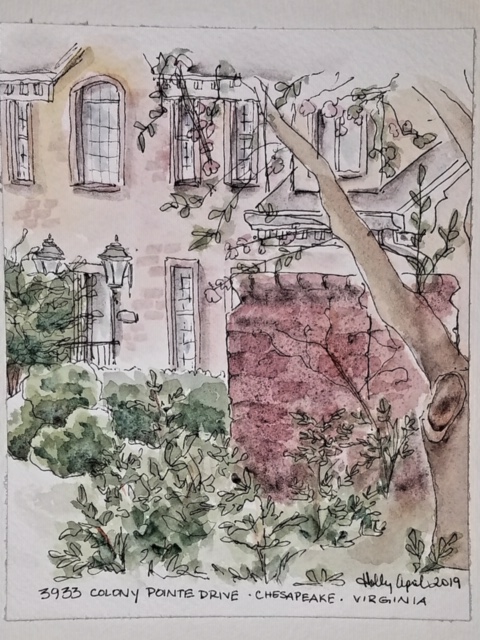
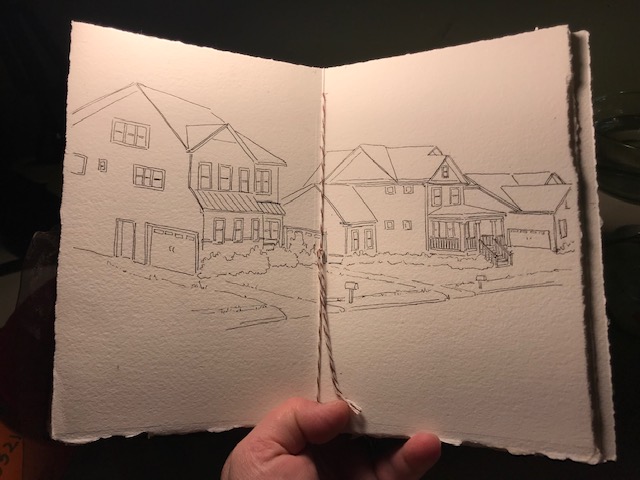
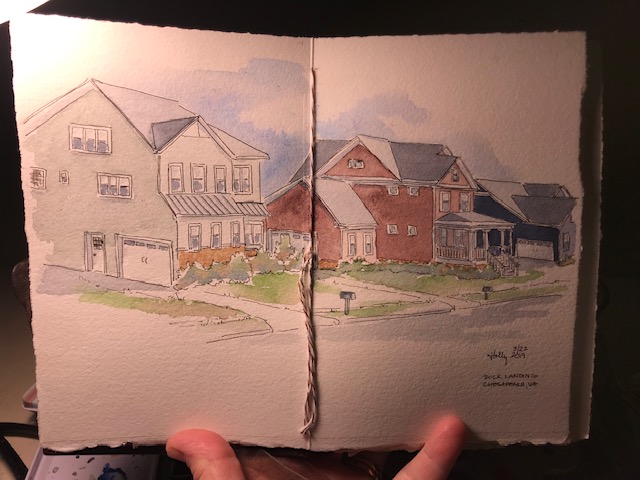
I spent a little time Saturday in Norfolk, VA kind of urban sketching. I recently purchased a book by Marc Holmes called The Urban Sketcher, which gives a brief history of the recent urban sketching trend, and he says that technically, urban sketching means COMPLETING the artwork on location, sketch, color, and finishing touches. I did not do the whole thing… I sketched, but then painted at home, even though I brought my paints with me! I had prepped a really lightweight, slim, TEENSY paint set. Something fun about mini paint sets! The container weighs really nothing, so I’d wanted to try it out. I used empty makeup pans in a credit card case…

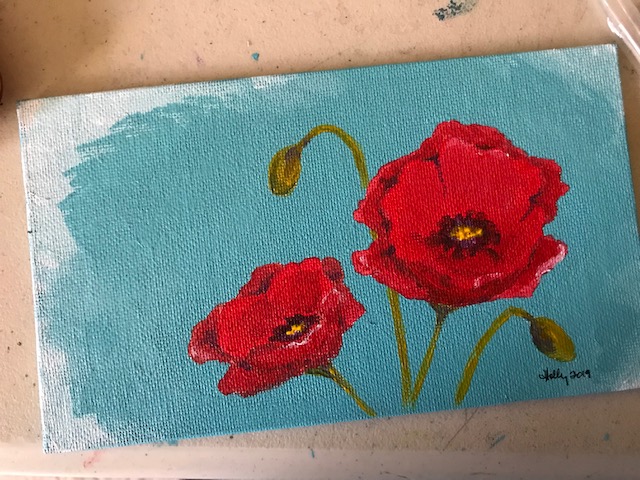
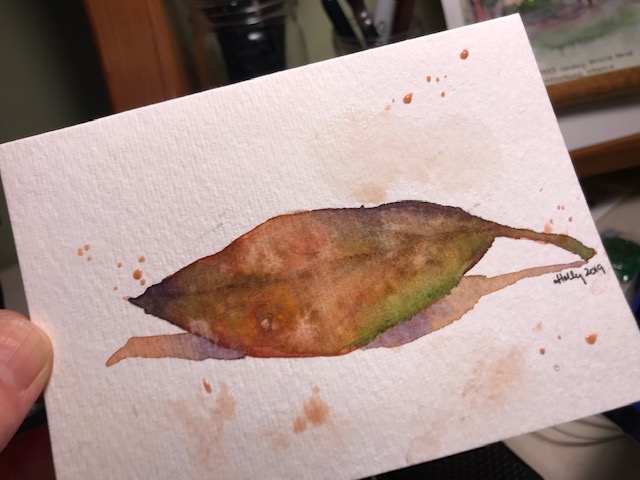
I sketched on location, but in the end I painted at home. (Urban Sketch 101 fail) AND wasn’t terribly happy with anything. Here it is anyway, because I want you to see how much I improve over time 🙂

IMG_7854

IMG_7856

IMG_7828IMG_7857

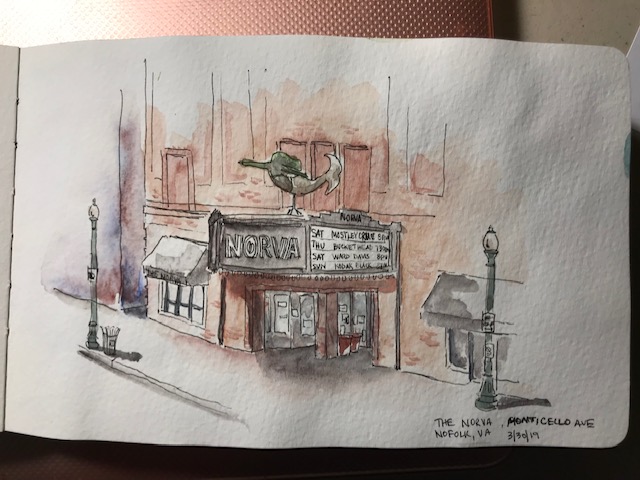
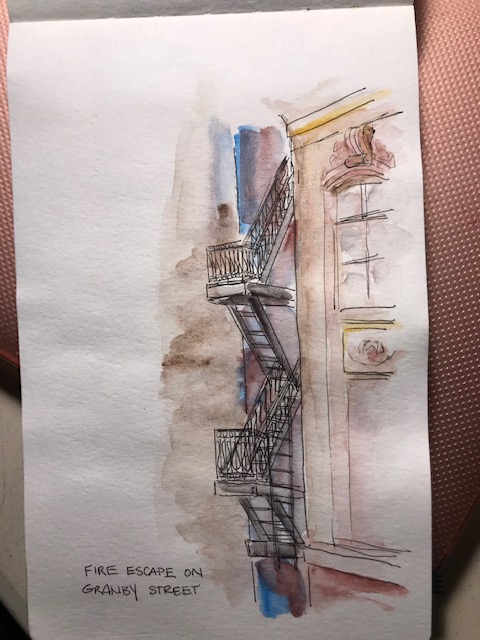
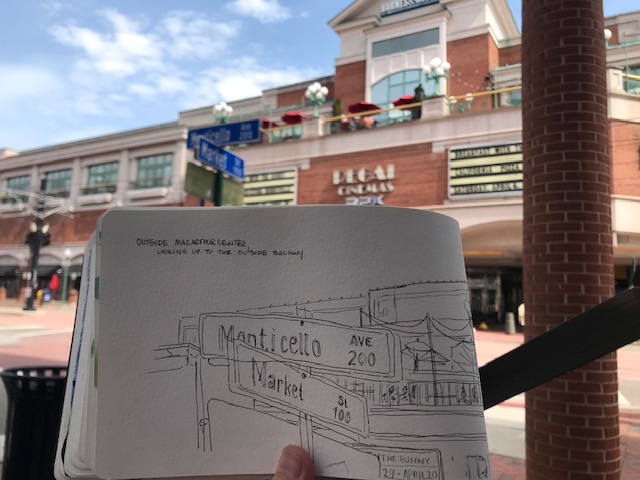
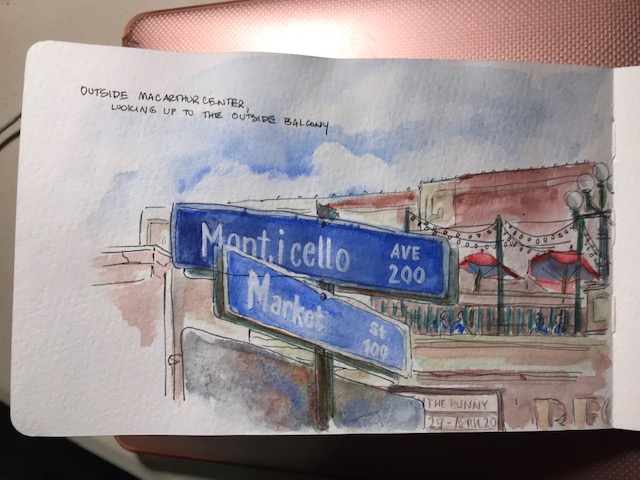
Nothing dynamic about ANY of it, although I did try one or two little things I was happy with. I felt awkward and uncomfortable, and didn’t draw well at all.  I had learned, though, even planning to paint, I needed VERY little with me, as opposed to several outings ago, when I brought way too much stuff. So that’s something. I didn’t even use a pencil (oh, maybe that’s why I was awkward, now that I think about it.) Just drew in ink, then added color.

I keep missing our local sketching events, so I was really happy with myself for just getting out and doing it. I’m trying to get out at least once a week to sketch something, and I’ll definitely head back out to Norfolk again.

Acrylic poppies 3/29/19

So yesterday I posted this one, watercolor poppies:

IMG_7797

Today I got a Sketchbox subscription box in the mail. Sometimes I put these aside for a bit… I almost never use the whole thing at once. All of the art subscription boxes suggest we try to make something using all the supplies. (Always seems like WORK…??) So today I thought, “hey I’ll try using all the supplies!” To be honest, Sketchbox makes it easier, by providing paper (or in this case, a little canvas board) so there’s no excuse not to at least TRY. This month was acrylic paint… yay! So I decided to go ahead and try to redo my poppies in acrylic.

IMG_7805

Okay, not as good. But not horrible. A few more intelligently placed layers and I could have something. I do not feel capable of any more intelligently placed layers yet, though. I already cheated a tiny bit by adding some blue paint I had here, because I couldn’t get anything for the background but a muddy mess with the colors they provided. But I’m happy to say I did use ALL the supplies they sent me. Ta-daa!!

Poppies! and other pretty watercolor stuff 3/29/19

I keep coming back to this “type” of sketch… obviously my favorite, what I think I do best, and most comfortable to me. I will be taking a watercolor class in April to try to strengthen my ability to do looser paintings, without ink or pencil, but I imagine this type is actually “me”.

IMG_7797

A. Gallo watercolor, Fabriano 100% cotton paper 140 lb, uniball deluxe micro pen

I love these poppies! I’d frame them, but this is actually for a watercolor swap, so I’ll have to do another for myself! My partner is new to watercolor, and I wanted to show her several different ways of painting. So I also did this leaf on a notecard for her, painted directly:

IMG_7800

and this little notecard (I used some stickers for inspiration!):

IMG_7802

None of these required pencil sketches first, they are all pretty basic.

Which do you like the best?

A little (sub)-urban-ish sketching 3/22/19

Some adorable homes in Chesapeake… ok, prettier in person. I parked my car and totally creeped on these nice neighbors, just sketching away. Then painted it at home. Does that count as urban sketching? I have so far to go.

IMG_7573

IMG_7594

IMG_7595

I REALLY did not capture the character of this line of homes. 😦


Spring Tulip 3/20/19, and da Vinci Quill Brushes

This is direct watercolor using A. Gallo watercolor paint on Arches 100% cotton cold press paper (in the book I made in a previous post), using one of my new favorite brushes, the da Vinci Casaneo Quill Brush, size 2. (This is an Amazon affiliate link, and I get rewarded (a little!) if you purchase through this link, without it costing you more… but shop around! I haven’t checked prices on these elsewhere recently. It is $29 right now, but I only paid $21 a few weeks ago… maybe try to wait out a price decrease?)


Quill brushes are sized differently than round brushes (though both are round!) and a 2 quill is maybe like a 6 or 7 round brush. A pretty convenient size. The brush is soft, keeps a beautiful thin tip, holds a ton of water, and this one snaps back nicely. It is actually made from synthetic fibers, and I was surprised by the water it holds. … the brush head itself isn’t as long as I thought it would be. I wonder if that explains the snap back that it has? So far i have enjoyed it immensely, and love the size 0 I got just as much.

This afternoon, I was reading this blog post by a friend of mine, Chandra, from Swap-bot, … She takes beautiful photographs, and always has such thoughtful things to share. I was inspired to try painting one of her tulips tonight. Ok, it turned into something very different, but it’s all good practice! If it looks unfinished to you… that’s because I don’t really know what I’m doing yet. I’m more comfortable sketching in ink, and filling in.

Happy first day of Spring! Go paint a tulip or something anyway!

🙂

IMG_7516

3/19/19 More transparent watercolor petals…

In honor of the first day of spring, coming up quickly, FLOWERS!

Lots of people on youtube show techniques for painting delicate, transparent watercolor flower petals. The first time I ever tried this technique was following a Jay Lee tutorial on youtube. I’ve found several since then… Here is Emma Lefebvre’s video “Layered Watercolor Flowers”

This is the one I was watching a few days ago. I watched it again tonight, and made this little page of practice blossoms.

IMG_7507

Use lots of water. and let each layer dry before applying the next.

With practice I know I can get better at this. It’s pretty relaxing, too. 🙂