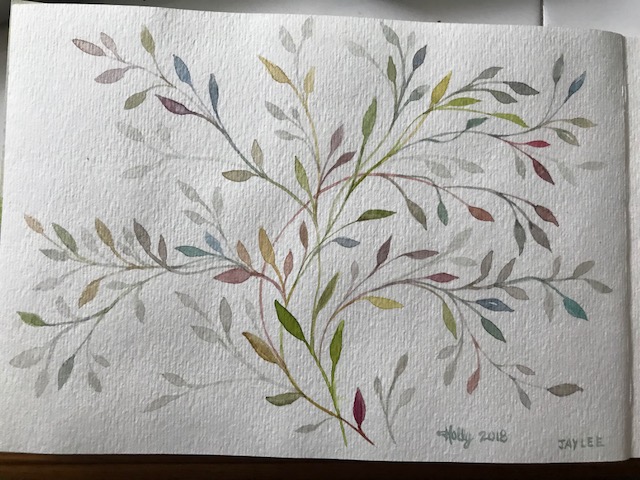
Another simple but elegant Jay Lee live youtube tutorial. Here he is advising us to play with all of our colors, mixing them any way we like, learning their properties.
A 365 day art project… one drawing a day

Another simple but elegant Jay Lee live youtube tutorial. Here he is advising us to play with all of our colors, mixing them any way we like, learning their properties.

I wanted to see how the EEM handmade paints work in galaxy paintings. I used Tia and Burnt Sienna for the centers, and used Daniel Smith’s indigo for the rest.
I started by taping my watercolor paper to a board and taping off the edges. I dipped a small (cheap) paintbrush in dishwashing liquid, wiped off the excess, then dipped it into masking fluid. The soap protects the bristles… without that step, the masking fluid will ruin the brush. Don’t use a nice brush, as it may ruin it anyway. I then tapped it against my finger to spray tiny droplets of masking fluid across the paper.


(On my first two attempts, the droplets were just a bit too large. I tried again using a very tiny stiffer brush and had better results. A small flat brush or a toothbrush would work as well, if you want to run your finger across it for the spray, but I prefer tapping it against my hand or another brush)
Once the fluid has dried, the next step is to take the brighter color and apply it in the middle of the paper. Drop it in, or apply using small circular motions, making some areas heavier and some lighter. Look how beautifully Tia granulates. Sadly, it is currently sold out, and I’ve just about used my sample up, but I’ll let you know when more is available! Soften the edges a bit with water.

The tutorial I followed in January by palestblue on youtube suggests using the indigo now to fill in the outer edges of the painting, moving towards the middle, but I started in the middle at the edge of my lighter color. Let the indigo mix with the center color a bit, they will bleed in and around each other. Either way, fill the background, again leaving some areas with more or less paint.

Then take a little more wet color (the lighter color) and drip it in around the edge of the colored part where it meets the indigo. I only did this step on the third galaxy attempt. It does give a different look, but with or without it, both ways look fine.

Allow the whole thing to dry for an hour or so, then remove the masking fluid to reveal the stars!! There are so many galaxy tutorials out there… and it seems like everyone does them a little differently. Look around and try several ways.


Masking fluid is my favorite way of getting the stars nice and bright.


A lot more effort earned me a subtle improvement, but the basic bones are still wrong. Since I’m wondering anyway how many times I can rework the thing before the paper is shot, I think I’ll try one more sitting and see what I can add. Then try something different!

Another Peter Sheeler tutorial, and after doing it I noticed my own mailbox has a little of this quaint, rustic coloring as well. And basically the same growing thingies around it. (Mostly things we planted, but some that have arrived of their own accord) Maybe I’ll try mine sometime?


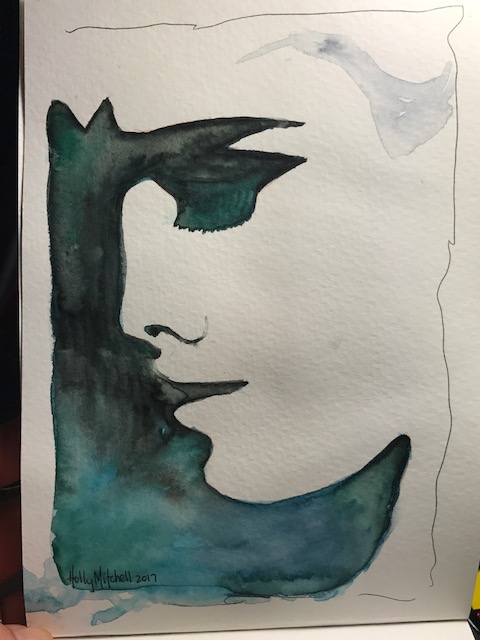
From a tutorial by ElenaRogue on YouTube. This used my Daniel Smith watercolors, in my 400 series Strathmore watercolor journal. (Which is nearly full now!) A fun idea, and nicely uncomplicated.

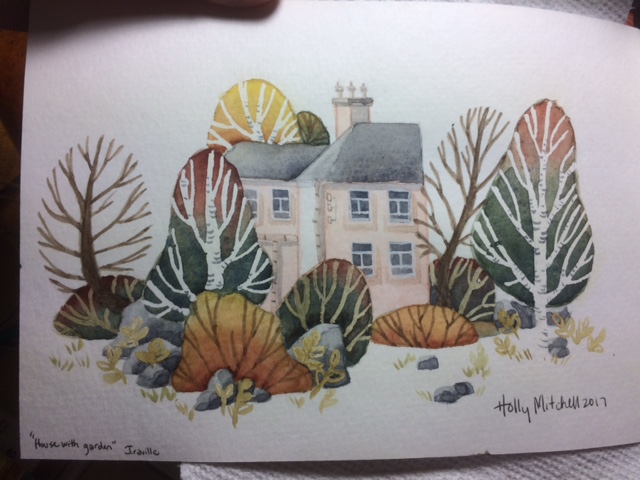
Is this the most adorable thing yet?? And “Iraville” on youtube is too cute. And talented. Her stuff is difficult for me but I love trying. I’m having considerable trouble controlling the masking fluid, in particular.

Following a tutorial by Peter Sheeler, around 12:30 am I came up with this watercolor sketch. It isn’t perfect, but I learned several skills from it, and am pleased with the results.


